How to install CHDK on a Canon camera
This post is about how to install CHDK on a Canon camera quickly and easy. All thanks to the great software STICK written by Dave Mitchell.
But first of all:
What is CHDK?
- Canon Hack Development Kit
- Temporary – No permanent changes are made to the camera.
- Experimental – No warranty. Read about the risks in the FAQ
- Free – free to use and modify, released under the GPL.
Features:
- Professional control – RAW files, bracketing, full manual control over exposure, zebra mode, live histogram, grids, etc.
- Motion detection – Trigger exposure in response to motion, fast enough to catch lightning.
- USB remote – Simple DIY remote allows you to control your camera remotely.
- Scripting – Control CHDK and camera features using uBASIC and Lua scripts. Enables time lapse, motion detection, advanced bracketing, and more.
Source: http://chdk.wikia.com/wiki/CHDK

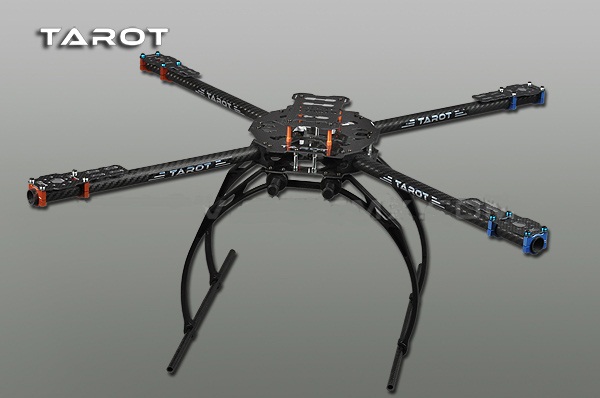
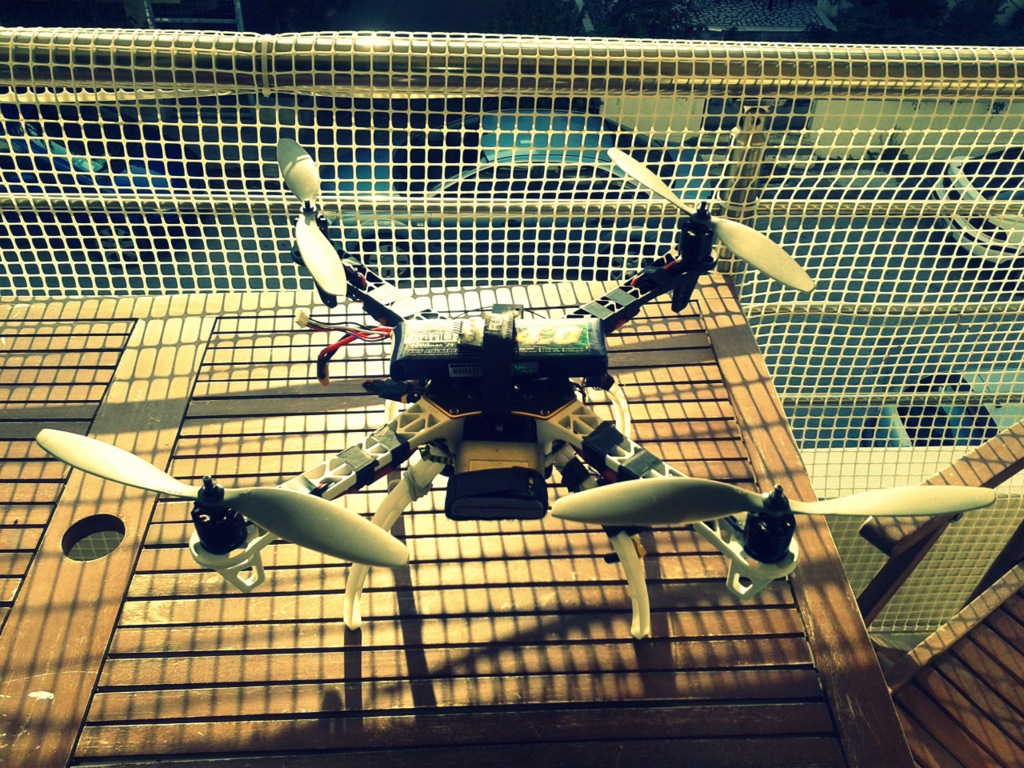
CHDK is the way to go when you want to shoot aerial photos from a quadcopter and you want the lens to be retracted after you take off and then to shoot photos every 2 or 3 seconds to get the pictures you want for your project. Or you if you want to control your camera (when to open its lens or when to shoot a photo from your Transmitter)
In http://chdk.wikia.com/wiki/CHDK you can find all the info you want about if your Canon supports CHDK and which version of CHDK you should install with intructions about how you do it and how to use it after the installation.
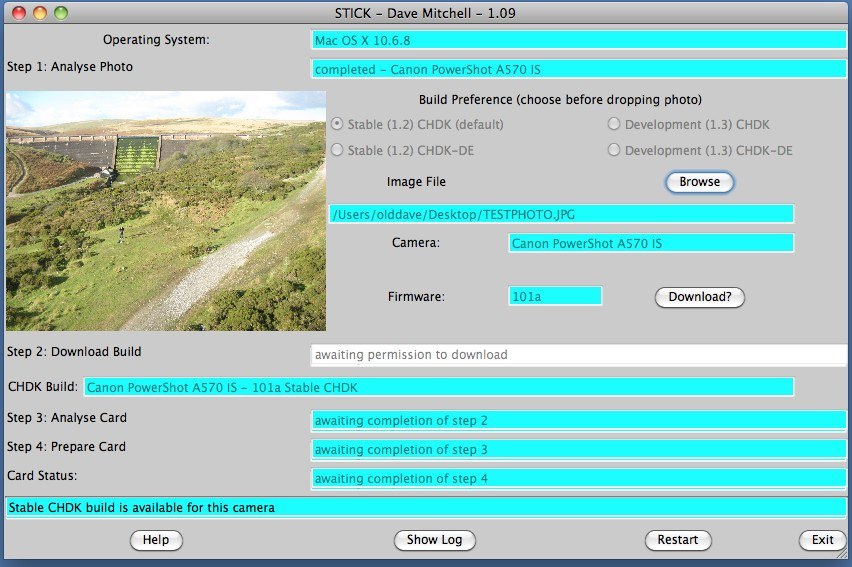
But the easy way to go is downloading the STICK software from here. STICK is written in java and it’s a 4 step application:
- Step 1: Drag and drop a photo on the box and the application automatically informs you about the camera you own
- Step 2: You choose and download the appropriate build for your camera
- Step 3: It analyzes your card
Step 4: It prepares(partition formatting and making bootavle as necessary) and then CHDK is installed.
Don’t forget to lock your sd card before inserting into your camera.

